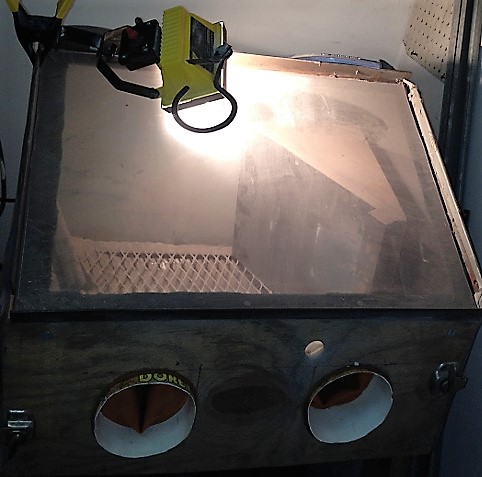
Combination of solutions 1 & 2 listed in this article. First by building a cabinet with a large viewing window for light to shine in and second for using a clamp light on the outside.
Someone recently asked me about lighting for a sandblast cabinet. After having a sufficient dust collector, a good source of light is the 2nd most crucial item needed so you can see what you are blasting.
Having good visibility really does make sandblasting more enjoyable without the frustration.
Whether you made your own cabinet, want to supplement your current cabinet’s light with an additional, or need to replace an old one, this article may benefit you.
I decided to research some good lighting resources that you could use and give you some ideas to improve your cabinet’s light.
Here are some lights that you could use and tips:
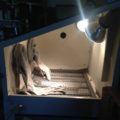
1. High Visibility Cabinet Build
First you could build a cabinet with a lot of visibility that allows light in. I will have an unique and interesting post explaining a couple different ways to make these here. However, a another solution that is the complete opposite can help folks see what they are blasting also by turning off the outside lights while leaving the inside lights on. It really does help if you prefer not to do any modifications.
2. External Clamp Light
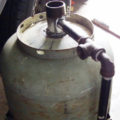
Bright clamp light as seen here: http://amzn.to/2DBtoVC
One possible solution is to add a light to the outside of the cabinet and allow it to shine in part of the viewing window. Using one of these clamp lights, as shown here, will allow you to clamp it to your cabinet and shine light in through the viewing window.
The downside? Depending on your viewing window and where you position the light on the outside, it could create a glare in the window.
You could configure these inside your cabinet also, but depending on how small the cabinet is, many of them may take up too much room. You may also want to build a protective cover to shelter it from getting damaged by the abrasive.
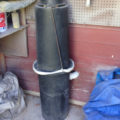
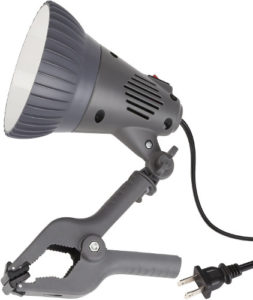
I have a clamp light that is bright, as you can see from the picture, but it gets very hot.
I would recommend a LED light that is available today because they don’t get hot so you don’t accidentally bump into it and burn yourself. This one sounds promising. It’s bright, an LED, seems to be compact and is a fair price. The 7 watt produces 500 lumens and the 12 watt version produces 1000 lumens!
3. Internal LED with double sided tape

Possible light bar to be used inside cabinet, as shown here http://amzn.to/2CsFoJs
The best way to light up the cabinet is to install lights inside the cabinet. Although, I haven’t searched extensively, this LED light kit seems to be one that would work well inside a cabinet. It actually comes with 3 LED light bars, is reasonably priced, appears to be compact so it won’t take up a lot of room, is bright and appears to already have a protective cover so abrasive can’t get in easily. Depending on how durable the cover is, you may need to build an additional protective cover with something like acrylic glass.
You could use all 3 light bars in your cabinet so you have a super bright cabinet or use them in other places around the garage. It’s a foot long so it should work in all cabinet sizes.
To install it:
- Position it inside by either:
- Using the double sided tape to adhere them to the inside of the cabinet on the top. Be sure to clean the abrasive dust from inside the cabinet first.
- Screwing it down. They also provide screws which you can screw into the cabinet walls.
- Drill a hole through the cabinet ceiling wall large enough so you can feed the cord through.
- Seal the hole around cord. I would recommend installing any type of grommet such as these into the hole because the edges will be sharp if it’s made out of sheet metal which could cut through the cord with time. Then use any sealant such as caulking if there are still some gaps.
- Lastly, I would recommend sealing any parts of the light bar that might allow abrasive to seep in with caulking sealant, preferably something like silicone. Pay attention to the small gaps around the light cover and cord.
4. Magnetic, Cordless Lights

Two options of magnetic light bars as a possible easy and convenient sandblast cabinet light solution.
I stumbled upon these lights which seems like a very convenient solution if folks don’t want to spend the time installing a light. However, I am not certain if they will provide a good amount of light. A little light is better than no light though.
If you have a metal based cabinet, you can easily place it where ever you’d like inside the cabinet and the magnet will hold it to the walls. Just install batteries, position and turn on. Options I found:
- This first one is inexpensive by Consio shown here. Although it has 72 LEDs and is 10 inches long, I am not certain this will provide enough light as I’d like. If using this option, you may want to get two of them.
- The second option is one that seems more appealing because it has a built in rechargeable battery and seems to be higher quality. I believe it might be brighter as well. It is by FOGEEK and can be seen here.
Please note: if you blast with any type of magnetic abrasive such as steel, you may want to used another option.
5. Halogen spot lights/ flood lights
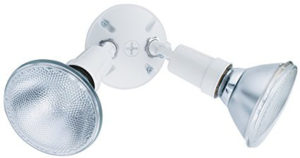
One of the better light solutions for sandblast cabinets but requires wiring. Can be seen here: http://amzn.to/2Cud7SS
This is probably one of the best solutions in terms of lighting the cabinet the brightest for the best visibility, but it requires more steps and wiring skills. It is fairly simple but you would just need to make sure you wire it safely. The lowest priced flood light setup I found for you all is here. You would then have to purchase halogen flood light bulbs. I recommend a 55 watt light bulb that produces about 960 lumens.
So those are some of the ideas I have came up with. If you have other ideas or tried something else that works great, please let us know in the comments below. Thank you
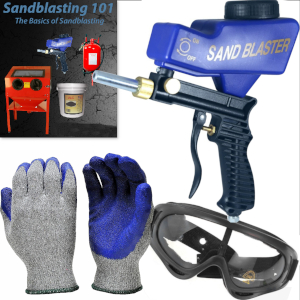
Check out our Sandblasting Supplies
Gravity-Fed Sandblaster
Portable, Quick & Easy Setup
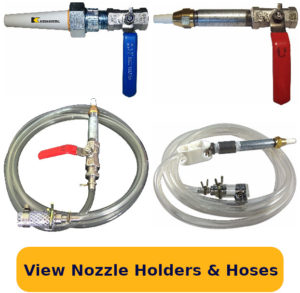
Unique Nozzle Holders & Hose Systems
Check out our Longer-Lasting Nozzle Tips
Select from ceramic or various carbides. Large C1 sizes & regular C2 sizes