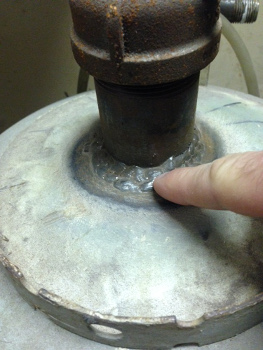
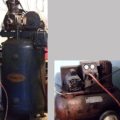
Depicts how the weld looks around sandblaster.
I got an email recently from someone attempting to weld the large pipe nipple to the tank to create a blaster pot as explained in my blaster plans or mini blaster plans. He stated that he was unsuccessful in sealing the air after welding. This post will give you some tips if you run into these issues too and provide some alternative fixes as well.
1. Ensure a Clean Weld and Do It Properly: Although it is great if you are an experienced, welder, you can still get the job done with little practice because it really is not tough. I really am not a great welder but I always found a way for the air to seal and you will too with these tips:
- Make sure both surfaces of the metal are very clean. It is best to clean both edges by lightly grinding the metal down. This will ensure a smooth, clean bond and prevent splatters.
- Weld in a Close, Circular Pattern: Some welding techniques say to create a bead of weld by creating a slow circular motion while you work the bead from one edge to another.
2. Put the pot under light air pressure to test and find the hole:
- Use Heavy Soapy Water: Mixing hand dishwashing or liquid hand soap with a little bit of water while spreading around the weld that is under light air pressure will help you pinpoint the hole to weld. You may see soapy bubbling coming from the leak.
3. Grind Hole, Then Weld:
- Before welding over the hole, it is best to grind down the weld slightly in the area of the leak. Then proceed to weld over that area, following my tips in step 1.
4. Alternative Option:
- If the leak isn’t too big, you might be able to apply JB Weld over the weld area. This can work as a great seal, especially for small holes. You can find this here.
- I have mentioned that I believe it might be possible to make a blaster by using JB Weld with a combination of threaded components. The threads provide the structure, while the JB Weld provides added security and seals the parts together.
I hope this post was helpful. Please let me know if you have questions or suggestions in the comment section below.
Check out our Sandblasting Supplies
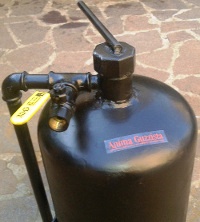
Gravity-Fed Sandblaster
Portable, Quick & Easy Setup

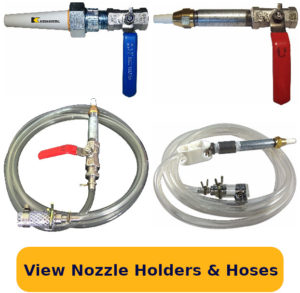
Unique Nozzle Holders & Hose Systems
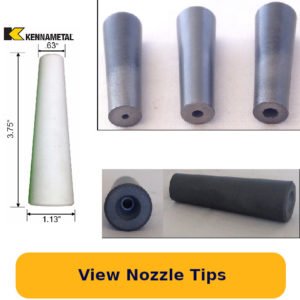
Check out our Longer-Lasting Nozzle Tips
Select from ceramic or various carbides. Large C1 sizes & regular C2 sizes
Hi Eric, Some great tips on getting the weld right. However another way is to braze the tube onto the cylinder (Brazing flows much easier) or put a bit of brazing onto the leak if you have already stick welded or Mig welded.
All penetrative welds must be performed using a “keyhole” effect. Grind areas to be welded leaving a 45 degree bevel angle on each side of the weld effect zone. Weld gap should be 1/16th of an inch.
Use a E 6010 weldrod with D/C or 6011 weldrod with A/C,Depending on weld thickness, i would use either a 3/32 inch rod diameter or a 1/8th rod diameter. Use the 3/32 rod for metal thickness 1/8th inch or thinner, use 1/8th rod on material 3/16 inch or thicker. On the 3/32 rod run it 60-90 amps. The 1/8th rod run at 90 to 130 amps depending on thickness of metal. The thicker the metal the more amps. Never over 140 though. After you’ve made your “root” pass cap your weld with a smoothe E7018 pass.
Best thing to do is get a hold of some scraps and see what works best. When you can lay down a nice bead in one pass, go for it. All the Best, Mike Daniels Houston County Welding
@ Doug, great idea — I forgot about suggesting brazing!
@ Mikey, thank you for sharing your expertise. I know this will be helpful to many of us!
Great advice, is it wrong to use Epoxy on leakages
@Mduduzi, the JB Weld is a type of epoxy. It is best to weld or braze all the leaks but this may be helpful for very small holes.